


Airdrops are part of a strategy for distributing coins or tokens to wallet addresses. In Web3, airdrop serve as a method to reward community members for their contributions and promote adoption, which involves distributing newly minted tokens to thousands of distinct wallet addresses simultaneously. While this has typically been done on a single blockchain in the past, you will learn how to execute a cross-chain airdrop that extends this process across multiple chains.
In this tutorial, you will learn how to build a cross-chain airdrop decentralized application (dApp) using Solidity, Next.js, and Axelar General Message Passing (GMP) for distributing tokens across multiple chains.
What are we building? This application guides you through a simple four-step process that empowers users to:
Connect their wallet.
Authorize the airdrop token amount for spending.
Add wallet addresses.
Distribute tokens from Polygon to Avalanche testnet via airdrop.
To get started quickly, you'll find the entire code for this tutorial on GitHub. This way, you can explore the application's inner workings as you follow along.
Prerequisite
Before getting started, you need the following prerequisites:
Node.js and its package manager NPM, version 18. Verify Node.js is installed by running the following terminal command:
node -v && npm -vA basic understanding of JavaScript, Solidity, and React/Next.js.
Project Setup and Installation
To start the project setup and installation quickly, clone this project on GitHub using the following command:
git clone https://github.com/axelarnetwork/cross-chain-airdrop-dapp.git
Make sure you're on the start branch using the following command:
git checkout starter
Next, change the directory into the cloned folder and install the project locally using npm with the following command:
cd cross-chain-airdrop-dapp && npm i && npm run dev
The npm run dev will start a Next.js hot-reloading development environment accessible by default at http://localhost:3000.
To successfully create a smart contract for an airdrop using Axelar's general message passing, it's important to understand how it enables cross-chain interaction. The following section will explain how it works.
Getting Started with Axelar General Message Passing (GMP)
Axelar's General Message Passing (GMP) feature empowers developers to call any function on interconnected chains seamlessly.
With GMP, developers gain the ability to:
Call a contract on chain A and interact with a contract on chain B.
Execute cross-chain transactions by calling a contract on chain A and sending tokens to chain B.
Building a smart contract using Hardhat and Axelar GMP
In this section, you will build the smart contract leveraging Axelar GMP to airdrop tokens from the Polygon testnet to the Avalanche testnet.
Navigate to the project's root folder you cloned in the previous step, and then run the following commands to create a new Hardhat project.
mkdir hardhat cd hardhat npm install --save-dev hardhat
Get a sample project by running the command below:
npx hardhat
Accept the following options:
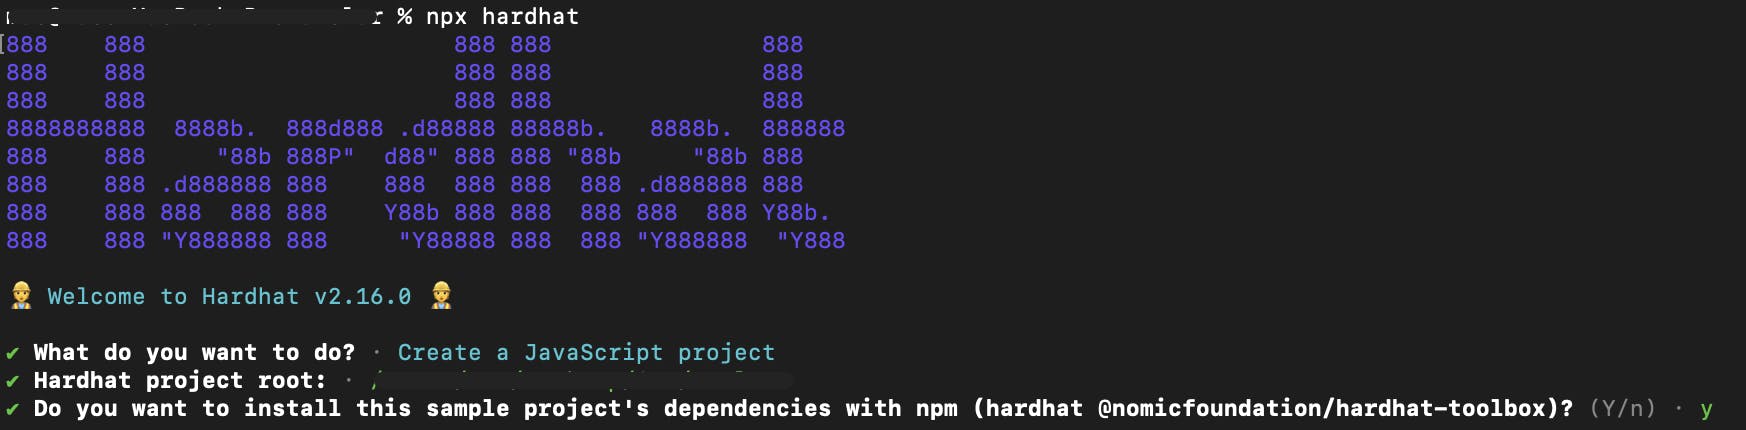
The @nomicfoundation/hardhat-toolbox plugin includes all the commonly used packages and recommended Hardhat plugins for starting development with Hardhat.
In case it wasn't installed automatically, install this additional requirement using the following command:
npm i @nomicfoundation/hardhat-toolbox@3.0.0
Next, install @axelar-network/axelar-gmp-sdk-solidity for Axelar General Message Passing SDK in Solidity and dotenv with the following command:
npm i @axelar-network/axelar-gmp-sdk-solidity@3.6.1 dotenv
To ensure everything functions properly, execute the following command within the hardhat directory.
npx hardhat test
You will see a passed test result in your console.
To start building from scratch, it's important to clean up the directory. To accomplish this task, delete Lock.js from the test folder and remove deploy.js from the scripts directory. After that, navigate to the contracts folder and delete Lock.sol.
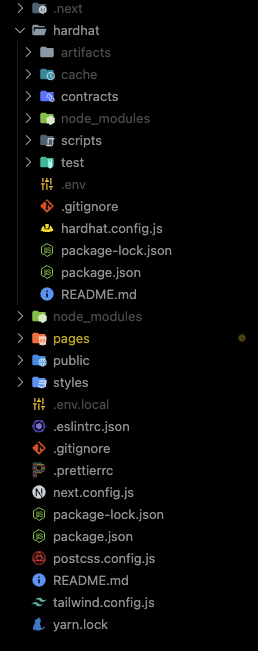
Delete lock.js file
The folders themselves should not be deleted!
Create an Airdrop.sol file inside the contracts directory and update it with the following code snippet. When using Hardhat, file organization is crucial, so pay attention!
// SPDX-License-Identifier: MIT
pragma solidity ^0.8.9;

import {AxelarExecutable} from "@axelar-network/axelar-gmp-sdk-solidity/contracts/executable/AxelarExecutable.sol";
import {IAxelarGateway} from "@axelar-network/axelar-gmp-sdk-solidity/contracts/interfaces/IAxelarGateway.sol";
import {IERC20} from "@axelar-network/axelar-gmp-sdk-solidity/contracts/interfaces/IERC20.sol";
import {IAxelarGasService} from "@axelar-network/axelar-gmp-sdk-solidity/contracts/interfaces/IAxelarGasService.sol";

// Airdrop contract that inherits from AxelarExecutable
contract Airdrop is AxelarExecutable {
    // Immutable reference to the gas service contract
    IAxelarGasService public immutable gasService;

    // Variables to track airdrop details
    uint256 public amountReceived;
    address[] public airdropRecipients;

    // Constructor to initialize the contract
    constructor(address gateway_, address gasReceiver_) AxelarExecutable(gateway_) {
        // Initialize the gas service contract
        gasService = IAxelarGasService(gasReceiver_);
    }

    // Function to initiate airdrop to multiple recipients on another chain
    function sendToMany(
        string memory destinationChain,
        string memory destinationAddress,
        address[] calldata destinationAddresses,
        string memory symbol,
        uint256 amount
    ) external payable {
        // Require a gas payment for the transaction
        require(msg.value > 0, "Gas payment is required");

        // Get the token address associated with the provided symbol
        address tokenAddress = gateway.tokenAddresses(symbol);

        // Transfer tokens from sender to this contract
        IERC20(tokenAddress).transferFrom(msg.sender, address(this), amount);

        // Approve the gateway to spend tokens on behalf of this contract
        IERC20(tokenAddress).approve(address(gateway), amount);

        // Encode the recipient addresses into a payload
        bytes memory payload = abi.encode(destinationAddresses);

        // Pay for native gas using the gas service contract
        gasService.payNativeGasForContractCallWithToken{value: msg.value}(
            address(this),
            destinationChain,
            destinationAddress,
            payload,
            symbol,
            amount,
            msg.sender
        );

        // Initiate a contract call on the gateway
        gateway.callContractWithToken(
            destinationChain,
            destinationAddress,
            payload,
            symbol,
            amount
        );
    }

    // Function to retrieve the list of airdrop recipients
    function getRecipients() public view returns (address[] memory) {
        return airdropRecipients;
    }

    // Internal function to execute airdrop on the current chain
    function _executeWithToken(
        string calldata,
        string calldata,
        bytes calldata payload,
        string calldata tokenSymbol,
        uint256 amount
    ) internal override {
        // Decode the payload to get the recipient addresses
        address[] memory recipients = abi.decode(payload, (address[]));

        // Get the token address associated with the provided symbol
        address tokenAddress = gateway.tokenAddresses(tokenSymbol);

        // Set amountReceived and airdropRecipients variables
        amountReceived = amount;
        airdropRecipients = recipients;

        // Calculate the amount of tokens to send to each recipient
        uint256 sentAmount = amount / recipients.length;

        // Transfer tokens to each recipient
        for (uint256 i = 0; i < recipients.length; i++) {
            IERC20(tokenAddress).transfer(recipients[i], sentAmount);
        }
    }
}
In the code snippet above:
It defines a Solidity contract named
Airdropthat extends theAxelarExecutablecontract.The contract imports several Solidity interfaces and contracts from the
@axelar-network/axelar-gmp-sdk-soliditypackage.The constructor of the contract takes two parameters:
gateway_andgasReceiver_. It initializes thegasServicevariable with thegasReceiver_address and calls the constructor of theAxelarExecutablecontract with thegateway_address.The contract has a function name
sendToManythat is external and payable. It takes several parameters, includingdestination chain,destination address,destination addresses (array),symbolandamount. It requires that the message value (attached Ether) is greater than 0, transfers tokens from the sender to the contract, approves the transfer to the gateway, and performs a native gas payment using thegasServicecontract. It then calls thecallContractWithTokenfunction of thegatewaycontract.The contract has a public function name and returns the array of airdrop recipients.
The contract has an internal function name
_executeWithTokenthat is called by theAxelarExecutablecontract. It takes parameters including a payload (an array of addresses, which we have chosen in this tutorial but it can store any other data types) and a token symbol.It decodes the payload, transfers tokens to the recipients, and updates the
amountReceivedandairdropRecipientsvariables.
Set up deployment script
Create a deploy.js file in the scripts folder and add the following code snippet:
const hre = require("hardhat");

async function main() {
  const Airdrop = await hre.ethers.deployContract("Airdrop", [
    "",
    "",
  ]);

  await Airdrop.waitForDeployment();

  console.log(`Airdrop contract deployed to ${await Airdrop.getAddress()}`);
}

// We recommend this pattern to be able to use async/await everywhere
// and properly handle errors.
main().catch((error) => {
  console.error(error);
  process.exitCode = 1;
});
In the code snippet above:
The
mainfunction has theAirdropcontract deployed using thedeployContract,a method with two strings as arguments.The
await Airdrop.waitForDeployment()statement ensures that the deployment is completed before moving forward.The deployed contract's address is logged into the console.
Set up remote procedure call (RPC) to testnet
A remote procedure call (RPC) is a protocol used for communication between client and server systems in a network or blockchain environment. It enables clients to execute procedures or functions on remote servers and receive the results. RPC abstracts the underlying network details and allows clients to invoke methods on servers as if they were local.
Before you proceed to set up RPC, create a .env file using the command below:
touch .env
Ensure you are in the hardhat directory before running the command above.
Inside the .env file you just created, add the following key:
PRIVATE_KEY= // Add your account private key here
Getting your private account key is easy. If you use MetaMask, take a look at this post. Keep in mind that exporting the private key can differ for other wallet providers.
Next, set up RPC for Polygon and Avalanche test networks by updating the hardhat.config.js file with the following code snippet:
require("@nomicfoundation/hardhat-toolbox");
require("dotenv").config({ path: ".env" });
require("solidity-coverage");

const PRIVATE_KEY = process.env.PRIVATE_KEY;

// This is a sample Hardhat task. To learn how to create your own go to
// <https://hardhat.org/guides/create-task.html>
task("accounts", "Prints the list of accounts", async (taskArgs, hre) => {
  const accounts = await hre.ethers.getSigners();

  for (const account of accounts) {
    console.log(account.address);
  }
});

// You need to export an object to set up your config
// Go to <https://hardhat.org/config/> to learn more

/** @type import('hardhat/config').HardhatUserConfig */
module.exports = {
  solidity: "0.8.9",
  networks: {
    mumbai: {
      url: "https://rpc.ankr.com/polygon_mumbai",
      chainId: 80001,
      accounts: [PRIVATE_KEY],
    },
    avalancheFujiTestnet: {
      url: "https://avalanche-fuji-c-chain.publicnode.com",
      chainId: 43113,
      accounts: [PRIVATE_KEY],
    },
  },
};
You have successfully configured the RPC for Polygon and Avalanche test networks. In the next step, you will deploy smart contracts to these networks.
Deploy smart contract to Polygon and Avalanche networks
In this section, you will deploy the smart contract to Polygon and Avalanche testnets. However, before you proceed, you need to specify the Axelar Gateway Service and the Gas Service contract in the hre.ethers.deployContract() method within the deploy.js file you created earlier.
You can find the list of Axelar Gas Service and Gateway contracts for all the chains currently supported by Axelar here.
To ensure successful contract deployment, you also need a faucet for your Polygon and Avalanche testnet accounts. To get the Polygon faucet, visit this link; and for the Avalanche faucet, access it here.
Deploy to Polygon testnet
Update the deploy.js file inside the scripts folder to deploy to Polygon testnet with the following code snippet:
//...

async function main() {

  // Update arguments with the Axelar gateway and
  // gas service on Polygon testnet
  const Airdrop = await hre.ethers.deployContract("Airdrop", [
    "0xBF62ef1486468a6bd26Dd669C06db43dEd5B849B",
    "0xbE406F0189A0B4cf3A05C286473D23791Dd44Cc6",
  ]);

  //...
}

//..
To deploy the contract on the Polygon testnet, run the following command:
npx hardhat run scripts/deploy.js --network mumbai
For example, the contract address will be displayed in your console: 0xe66f6e95E3edECe3567290751c024B19DEebAACd.
Deploy to Avalanche Fuji testnet
Update the deploy.js file inside the scripts folder to deploy to Avalanche testnet with the following code snippet:
//...

async function main() {
  // Update arguments with the Axelar gateway and
  // gas service on Avalanche testnet
  const Airdrop = await hre.ethers.deployContract("Airdrop", [
    "0xC249632c2D40b9001FE907806902f63038B737Ab",
    "0xbE406F0189A0B4cf3A05C286473D23791Dd44Cc6",
  ]);

  //...
}

//..
To deploy the contract on the Avalanche testnet, run the following command:
npx hardhat run scripts/deploy.js --network avalancheFujiTestnet
The contract address will be displayed on your console; for example, 0x86bE218aD2CC1Dc3270c4A594E7BA52Fd03d6a46. Save both deployed contract addresses, as you will need them for frontend integration.
Integrating a Next.js frontend application with smart contract
In the previous steps, you successfully built and deployed the smart contract. Now, it's time to interact with it from the frontend, just as you would typically engage with dApps on the web.
Having already cloned the Next.js frontend project and set up the configuration for WAGMI and Rainbowkit, you can now move forward with updating the existing application and connecting your smart contract for testing, enabling interaction with it as you would with decentralized web applications.
Implementing smart-contract write functionality
Interacting with our contract is relatively straightforward from the frontend application, thanks to WAGMI, RainbowKit, and Ethers.
To interact between the Polygon and Avalanche testnets, you will need the Avalanche Fuji testnet RPC URL, the Polygon contract address and the Avalanche contract address. Create a .env.local file in the root directory by using the command below:
touch .env.local
Ensure you are in the root directory before running the command above.
Inside the .env.local file you just created, add the following:
NEXT_PUBLIC_AVALANCHE_RPC_URL=https://avalanche-fuji-c-chain.publicnode.com
NEXT_PUBLIC_POLYGON_CONTRACT_ADDRESS=<POLYGON_CONTRACT_ADDRESS>
NEXT_PUBLIC_AVALANCHE_CONTRACT_ADDRESS=<AVALANCHE_CONTRACT_ADDRESS>
Replace <POLYGON_CONTRACT_ADDRESS> with the contract address, you deployed to the Polygon testnet and replace <AVALANCHE_CONTRACT_ADDRESS> with the contract address you deployed to the Avalanche Fuji testnet earlier in this tutorial.
Next, you need to implement the write functionality for the smart contract. In this case, you must specify the airdrop amount and approve it by granting the contract permission to spend it. Only then can you input the wallet addresses to receive the airdrop and send it to them.
To enable the approval and airdrop feature, simply add this code snippet into the pages directory's index.js file. Be sure to import all essential functions from WAGMI, including the @axelar-network/axelarjs-sdk, Polygon, Avalanche Fuji testnet contract addresses, Airdrop contract and Avalanche Fuji testnet RPC URL.
//...

import {
  useContractWrite,
  useContractRead,
  usePrepareContractWrite,
  useWaitForTransaction,
  erc20ABI,
  useAccount,
} from "wagmi";
import { ethers } from "ethers";
import {
  AxelarQueryAPI,
  Environment,
  EvmChain,
  GasToken,
} from "@axelar-network/axelarjs-sdk";

import AirdropContract from "../hardhat/artifacts/contracts/Airdrop.sol/Airdrop.json";

const POLYGON_CONTRACT_ADDRESS =
  process.env.NEXT_PUBLIC_POLYGON_CONTRACT_ADDRESS;
const AVALANCHE_CONTRACT_ADDRESS =
  process.env.NEXT_PUBLIC_AVALANCHE_CONTRACT_ADDRESS;
const AVALANCHE_RPC_URL = process.env.NEXT_PUBLIC_AVALANCHE_RPC_URL;

export default function Home() {
//...
}
Next, create the following state variables and functions to interact with the smart contract you created earlier.
//...

export default function Home() {
  const [darkMode, setDarkMode] = useState(false);
  const [amount, setAmount] = useState(0);
  const [Addresses, setAddresses] = useState("");
  const { address } = useAccount();
  const [isSendButtonVisible, setIsSendButtonVisible] = useState(false);
  const [isApproveButtonVisible, setIsApproveButtonVisible] = useState(true);
  const [isTextareaVisible, setIsTextareaVisible] = useState(false);
  const api = new AxelarQueryAPI({ environment: Environment.TESTNET });
  const [gasFee, setGasFee] = useState(0);

const toastOptions = {
    position: "top-right",
    autoClose: 8000,
    closeOnClick: true,
    pauseOnHover: false,
    draggable: true,
  };

  // Approve aUSDC to be spent by the contract
  const { data: useContractWriteUSDCData, write: approveWrite } =
    useContractWrite({
      address: "0x2c852e740B62308c46DD29B982FBb650D063Bd07", // Address of the aUSDC contract
      abi: erc20ABI,
      functionName: "approve",
      args: [
        POLYGON_CONTRACT_ADDRESS,
        ethers.utils.parseUnits(amount.toString(), 6),
      ],
    });

  const { data: useWaitForTransactionUSDCData, isSuccess: isUSDCSuccess } =
    useWaitForTransaction({
      hash: useContractWriteUSDCData?.hash,
    });

  // Check Allowance
  const {
    data: readAllowance,
    isError: isAllowanceError,
    isLoading: isAllowanceLoading,
  } = useContractRead({
    address: "0x2c852e740B62308c46DD29B982FBb650D063Bd07", // Address of the USDC contract
    abi: erc20ABI,
    functionName: "allowance",
    args: [address, POLYGON_CONTRACT_ADDRESS],
  });

  // Estimate Gas
  const gasEstimator = async () => {
    const gas = await api.estimateGasFee(
      EvmChain.POLYGON,
      EvmChain.AVALANCHE,
      GasToken.MATIC,
      700000,
      2
    );
    setGasFee(gas);
  };

  // Send Airdrop
  const { data: useContractWriteData, write } = useContractWrite({
    address: POLYGON_CONTRACT_ADDRESS,
    abi: AirdropContract.abi,
    functionName: "sendToMany",
    args: [
      "Avalanche",
      AVALANCHE_CONTRACT_ADDRESS,
      Addresses.split(","),
      "aUSDC",
      ethers.utils.parseUnits(amount.toString(), 6),
    ],
    value: gasFee,
  });

  const { data: useWaitForTransactionData, isSuccess } = useWaitForTransaction({
    // Calling a hook to wait for the transaction to be mined
    hash: useContractWriteData?.hash,
  });

//...
}
In the code above,
The
useStatehook was utilized to create several state variables, includingdarkMode,amount,Addresses,isSendButtonVisible,isApproveButtonVisible,isTextareaVisibleandgasFee.The component utilizes the
useAccounthook to get theaddressvariable.An instance of
AxelarQueryAPIis created with theTESTNETenvironment and assigned to theapivariable.The component sets up a
toastOptionsobject used for displaying toast notifications.The code uses the
useContractWritehook twice, first toApproveaUSDC to be spent by the contract and then tosendToManyin the Airdrop contract with various arguments.It also uses the
useWaitForTransactionhook to wait for the transactions to be mined, checking for success in both cases.
Next, you can create a function to handle sending the airdrop, managing the Approve functionality, and utilizing the useEffect hook.
//...

export default function Home() {
//...

// Handle send airdrop button
  const handleSendAirdrop = async () => {
    if (!(amount && Addresses)) {
      toast.error("Please enter amount and addresses", toastOptions);
      return;
    }

    if (isAllowanceError) {
      toast.error("Error checking allowance", toastOptions);
      return;
    }

    write();
    toast.info("Sending Airdrop...", {
      ...toastOptions,
    });
  };

  // Handle Approval
  const handleApprove = () => {
    if (!amount) {
      toast.error("Please enter amount", toastOptions);
      return;
    }
    approveWrite();

    toast.info("Approving...", toastOptions);
  };

 useEffect(() => {
    //...

    // The gas estimator
    gasEstimator();

    isSuccess
      ? toast.success("Airdrop sent!", {
          toastOptions,
        })
      : useWaitForTransactionData?.error || useContractWriteData?.error
      ? toast.error("Error sending message")
      : null;

    if (isUSDCSuccess) {
      toast.success("USDC Approved!", { toastOptions });
      setIsApproveButtonVisible(false);
      setIsSendButtonVisible(true);
      setIsTextareaVisible(true);
    } else if (
      useWaitForTransactionUSDCData?.error ||
      useContractWriteUSDCData?.error
    ) {
      toast.error("Error approving USDC", { toastOptions });
    }
  }, [
    //...
    useContractWriteData,
    useWaitForTransactionData,
    useContractWriteUSDCData,
    useWaitForTransactionUSDCData,
  ]);

//...

  return (
    //...
  )
}
Update the Approve, Send button and textarea with the following code snippet to approve and send the airdrop cross-chain.
//...

export default function Home() {
//...

  return (
    <div className="container mx-auto px-4 flex flex-col min-h-screen">
      <header className="py-4">
         {/* ... */}
      </header>

      <main className="flex-grow flex flex-col items-center justify-center">

            {/* ... */}

            {isTextareaVisible && (
              <div className="flex flex-col mb-4">
                <label className="font-semibold mb-2">Addresses</label>
                <textarea
                  placeholder="Enter addresses (separate with a comma)"
                  className="border border-gray-300 rounded-lg p-2 h-32"
                  onChange={(e) => setAddresses(e.target.value)}
                />
              </div>
            )}
            {isApproveButtonVisible && (
              <button
                className="bg-blue-500 hover:bg-blue-600 text-white py-2 px-6 rounded-full mr-5"
                onClick={() => handleApprove()}
                display="none"
              >
                Approve
              </button>
            )}
            {isSendButtonVisible && (
              <button
                className="bg-blue-500 hover:bg-blue-600 text-white py-2 px-6 rounded-full"
                onClick={handleSendAirdrop}
              >
                Send
              </button>
            )}

          {/* . */}

      </main>
      <ToastContainer />
      <footer className="flex justify-center items-center py-8 border-t border-gray-300">
        {/* . */}
      </footer>
    </div>
  );
}
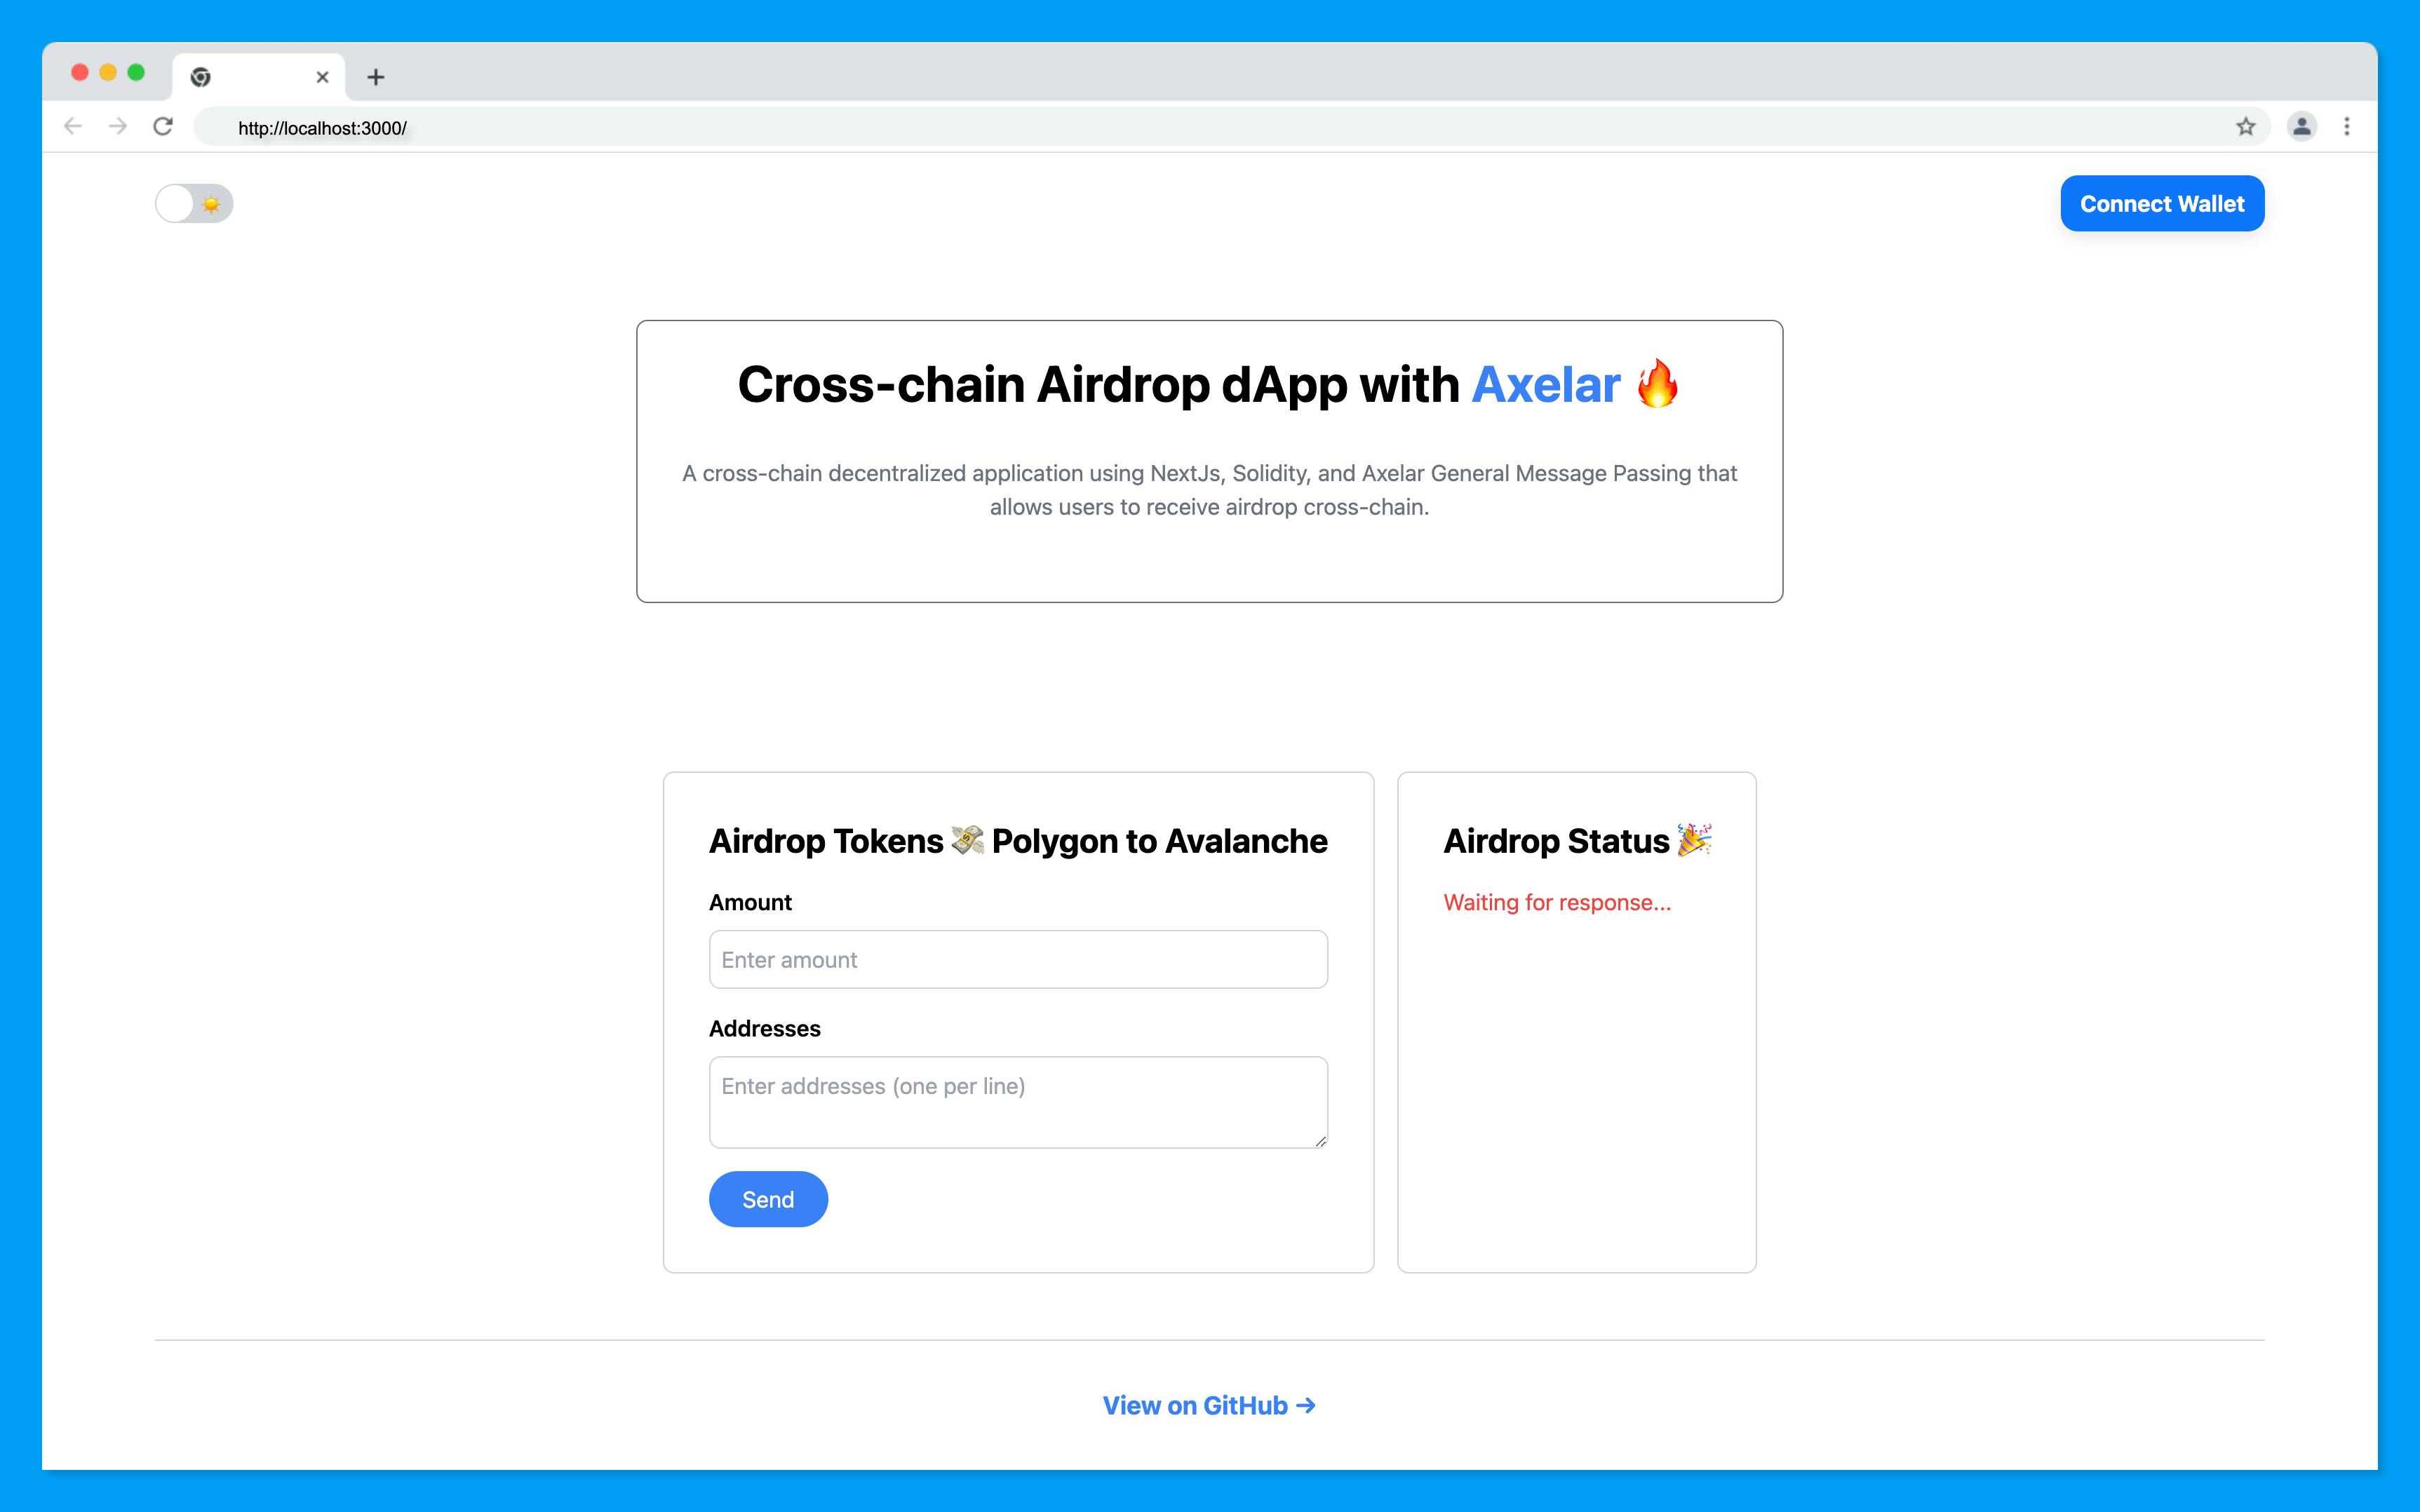
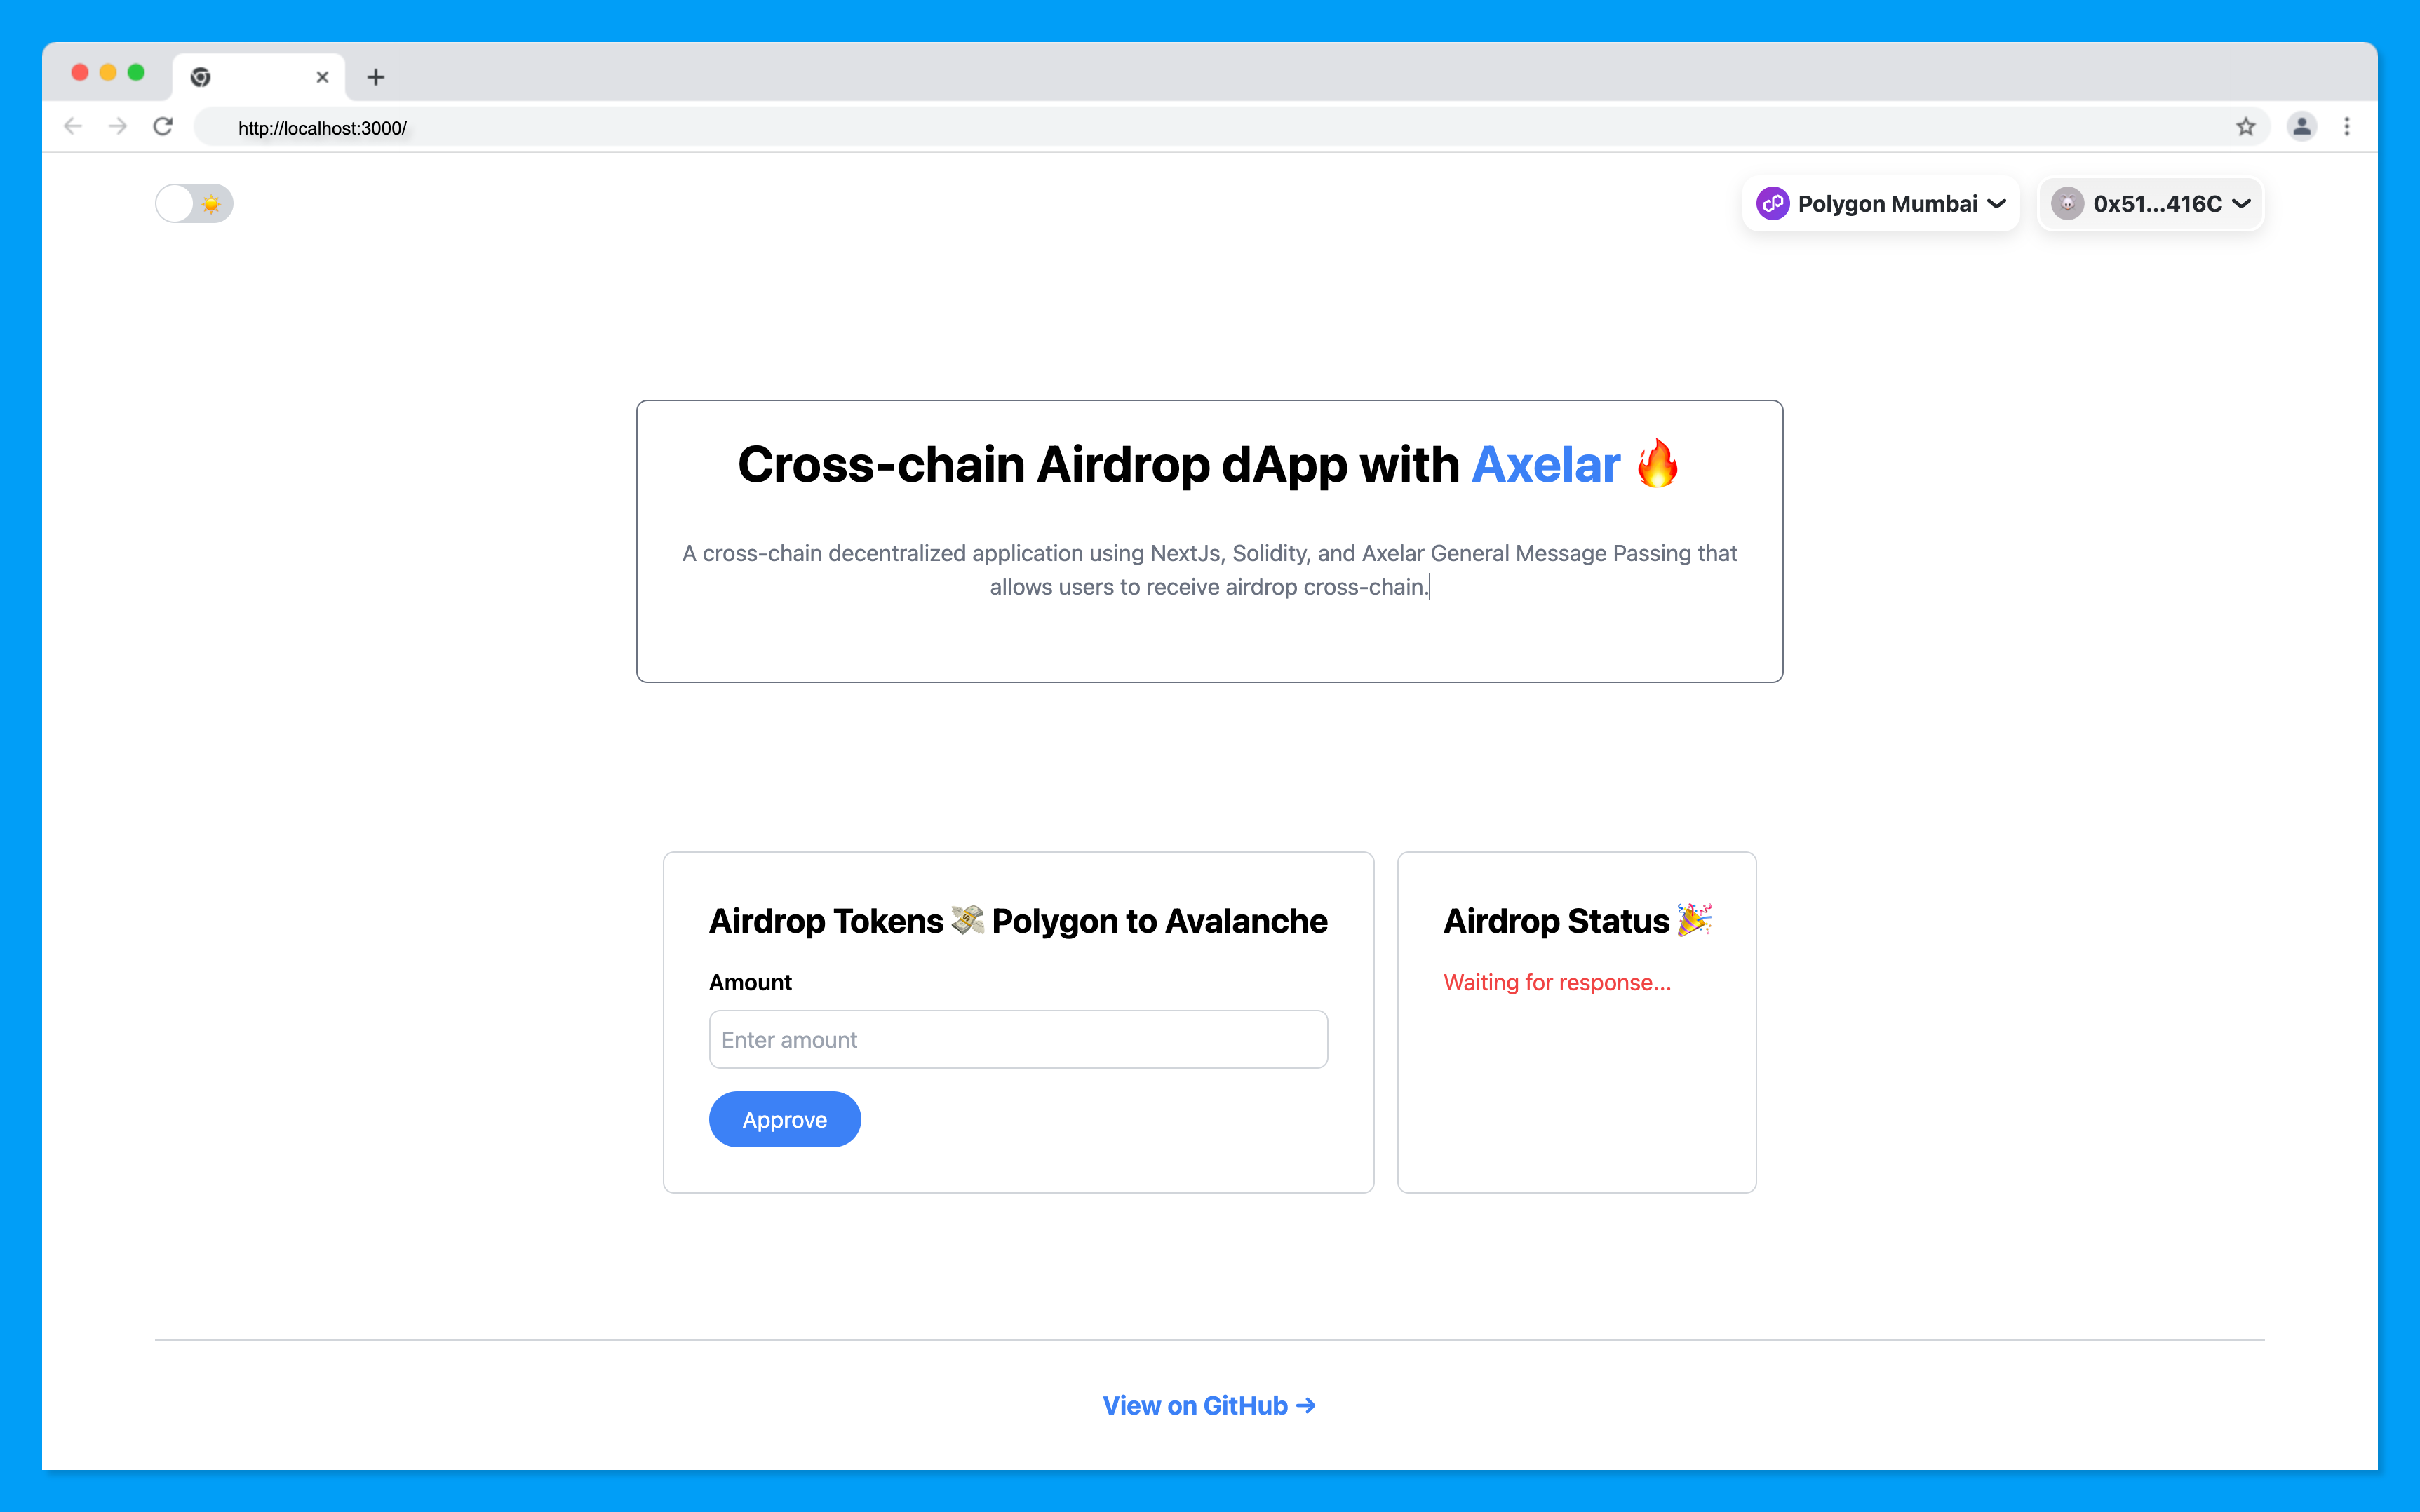
You can test the send functionality to see what you have so far, but you won't be able to retrieve it on the destination chain because the retrieval functionality hasn't been implemented yet.
The image below illustrates this by showing a waiting for response... message. Don't worry; you'll implement the retrieval functionality in the next step.
Implementing smart-contract read functionality
In the previous step, you learned how to write to a smart contract from the frontend, and now this section will guide you through implementing the functionality to read data from a smart contract.
Update the index.js with the following code snippet to read the airdrop details, including the recipient's addresses and amount.
//...

export default function Home() {
  //...
 const [amountReceived, setAmountReceived] = useState(0);
 const [airdropRecipients, setAirdropRecipients] = useState([]);

//...

// Read data from Avalanche
  const provider = new ethers.providers.JsonRpcProvider(AVALANCHE_RPC_URL);
  const contract = new ethers.Contract(
    AVALANCHE_CONTRACT_ADDRESS,
    AirdropContract.abi,
    provider
  );

  async function readDestinationChainVariables() {
    try {
      const amountReceived = await contract.amountReceived();

      const airdropRecipients = await contract.getRecipients();

      setAmountReceived(amountReceived.toString());

      setAirdropRecipients(airdropRecipients);
    } catch (error) {
      console.log(error);
    }
  }

 useEffect(() => {
    //...
  readDestinationChainVariables();

 }, [ //...
]);

//...
}
In the code above,
Two state variables,
amountReceivedandairdropRecipients, were set up using theuseStatehook to store the amount and recipients.An instance of
ethers.providers.JsonRpcProviderwas created to connect to the Avalanche blockchain.Defines a contract instance using
ethers.Contractwith the specified Avalanche contract address and ABI for theAirdropContract.The function
readDestinationChainVariablesis defined to read data from the Avalanche contract, including the amount received and the list of airdrop recipients.Inside
useEffect, thereadDestinationChainVariablesfunction is called to fetch and update the state variables when the component mounts and when other dependencies change.
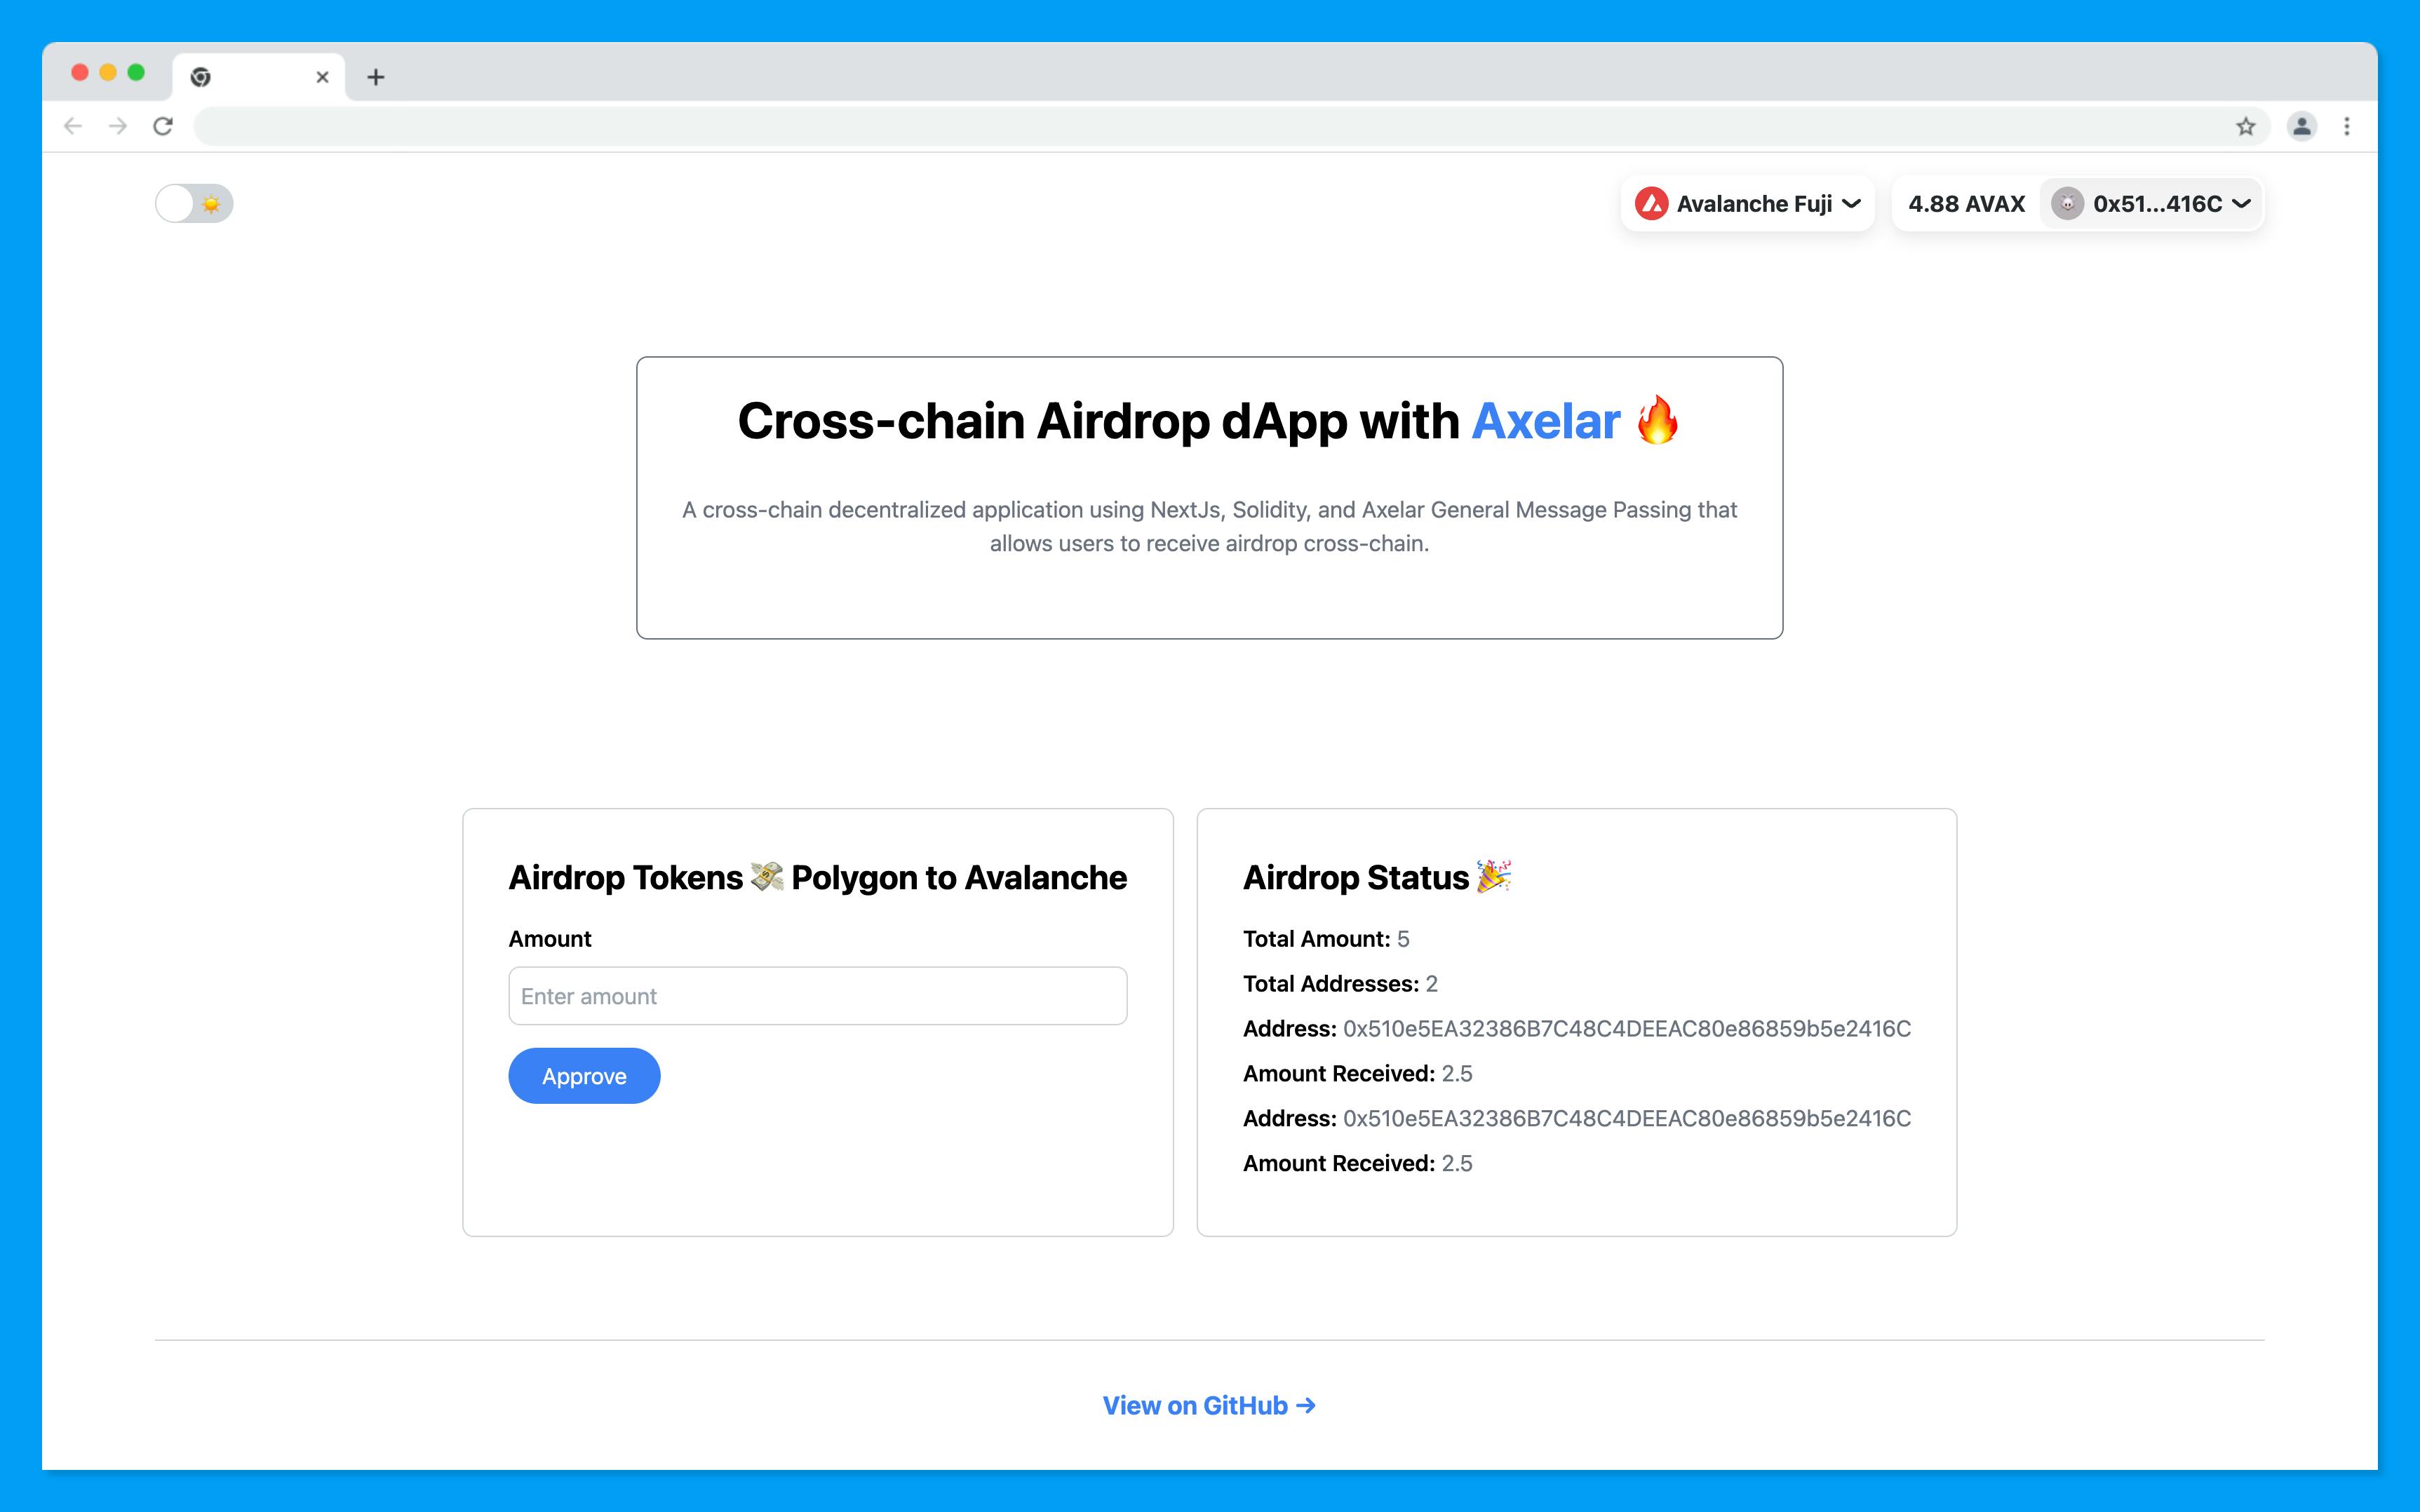
Next, update the UI to be rendered.
 //...

export default function Home() {

<main className="flex-grow flex flex-col items-center justify-center">

    {/* ... */}

          <div className="border border-gray-300 rounded-lg p-8 m-2 ">
            <h2 className="text-2xl font-bold mb-4">Airdrop Status 🎉</h2>
            {airdropRecipients.length > 0 ? (
              <>
                <div className="flex flex-col">
                  <p className="font-semibold mb-2">
                    Total Amount:{" "}
                    <span className="font-normal text-gray-500">
                      {amountReceived / 1000000}
                    </span>
                  </p>

                  <p className="font-semibold mb-2">
                    Total Addresses:{" "}
                    <span className="font-normal text-gray-500">
                      {airdropRecipients.length}
                    </span>
                  </p>

                  {airdropRecipients.map((recipient, index) => (
                    <div className="flex flex-col" key={index}>
                      <p className="font-semibold mb-2">
                        Address:{" "}
                        <span className="font-normal text-gray-500">
                          {recipient}
                        </span>
                      </p>
                      <p className="font-semibold mb-2">
                        Amount Received:{" "}
                        <span className="font-normal text-gray-500">
                          {amountReceived / airdropRecipients.length / 1000000}
                        </span>
                      </p>
                    </div>
                  ))}
                </div>
              </>
            ) : (
            <span className="text-red-500">Waiting for response...</span>
            )}
          </div>
        </div>
      </main>

{/* . */}

}
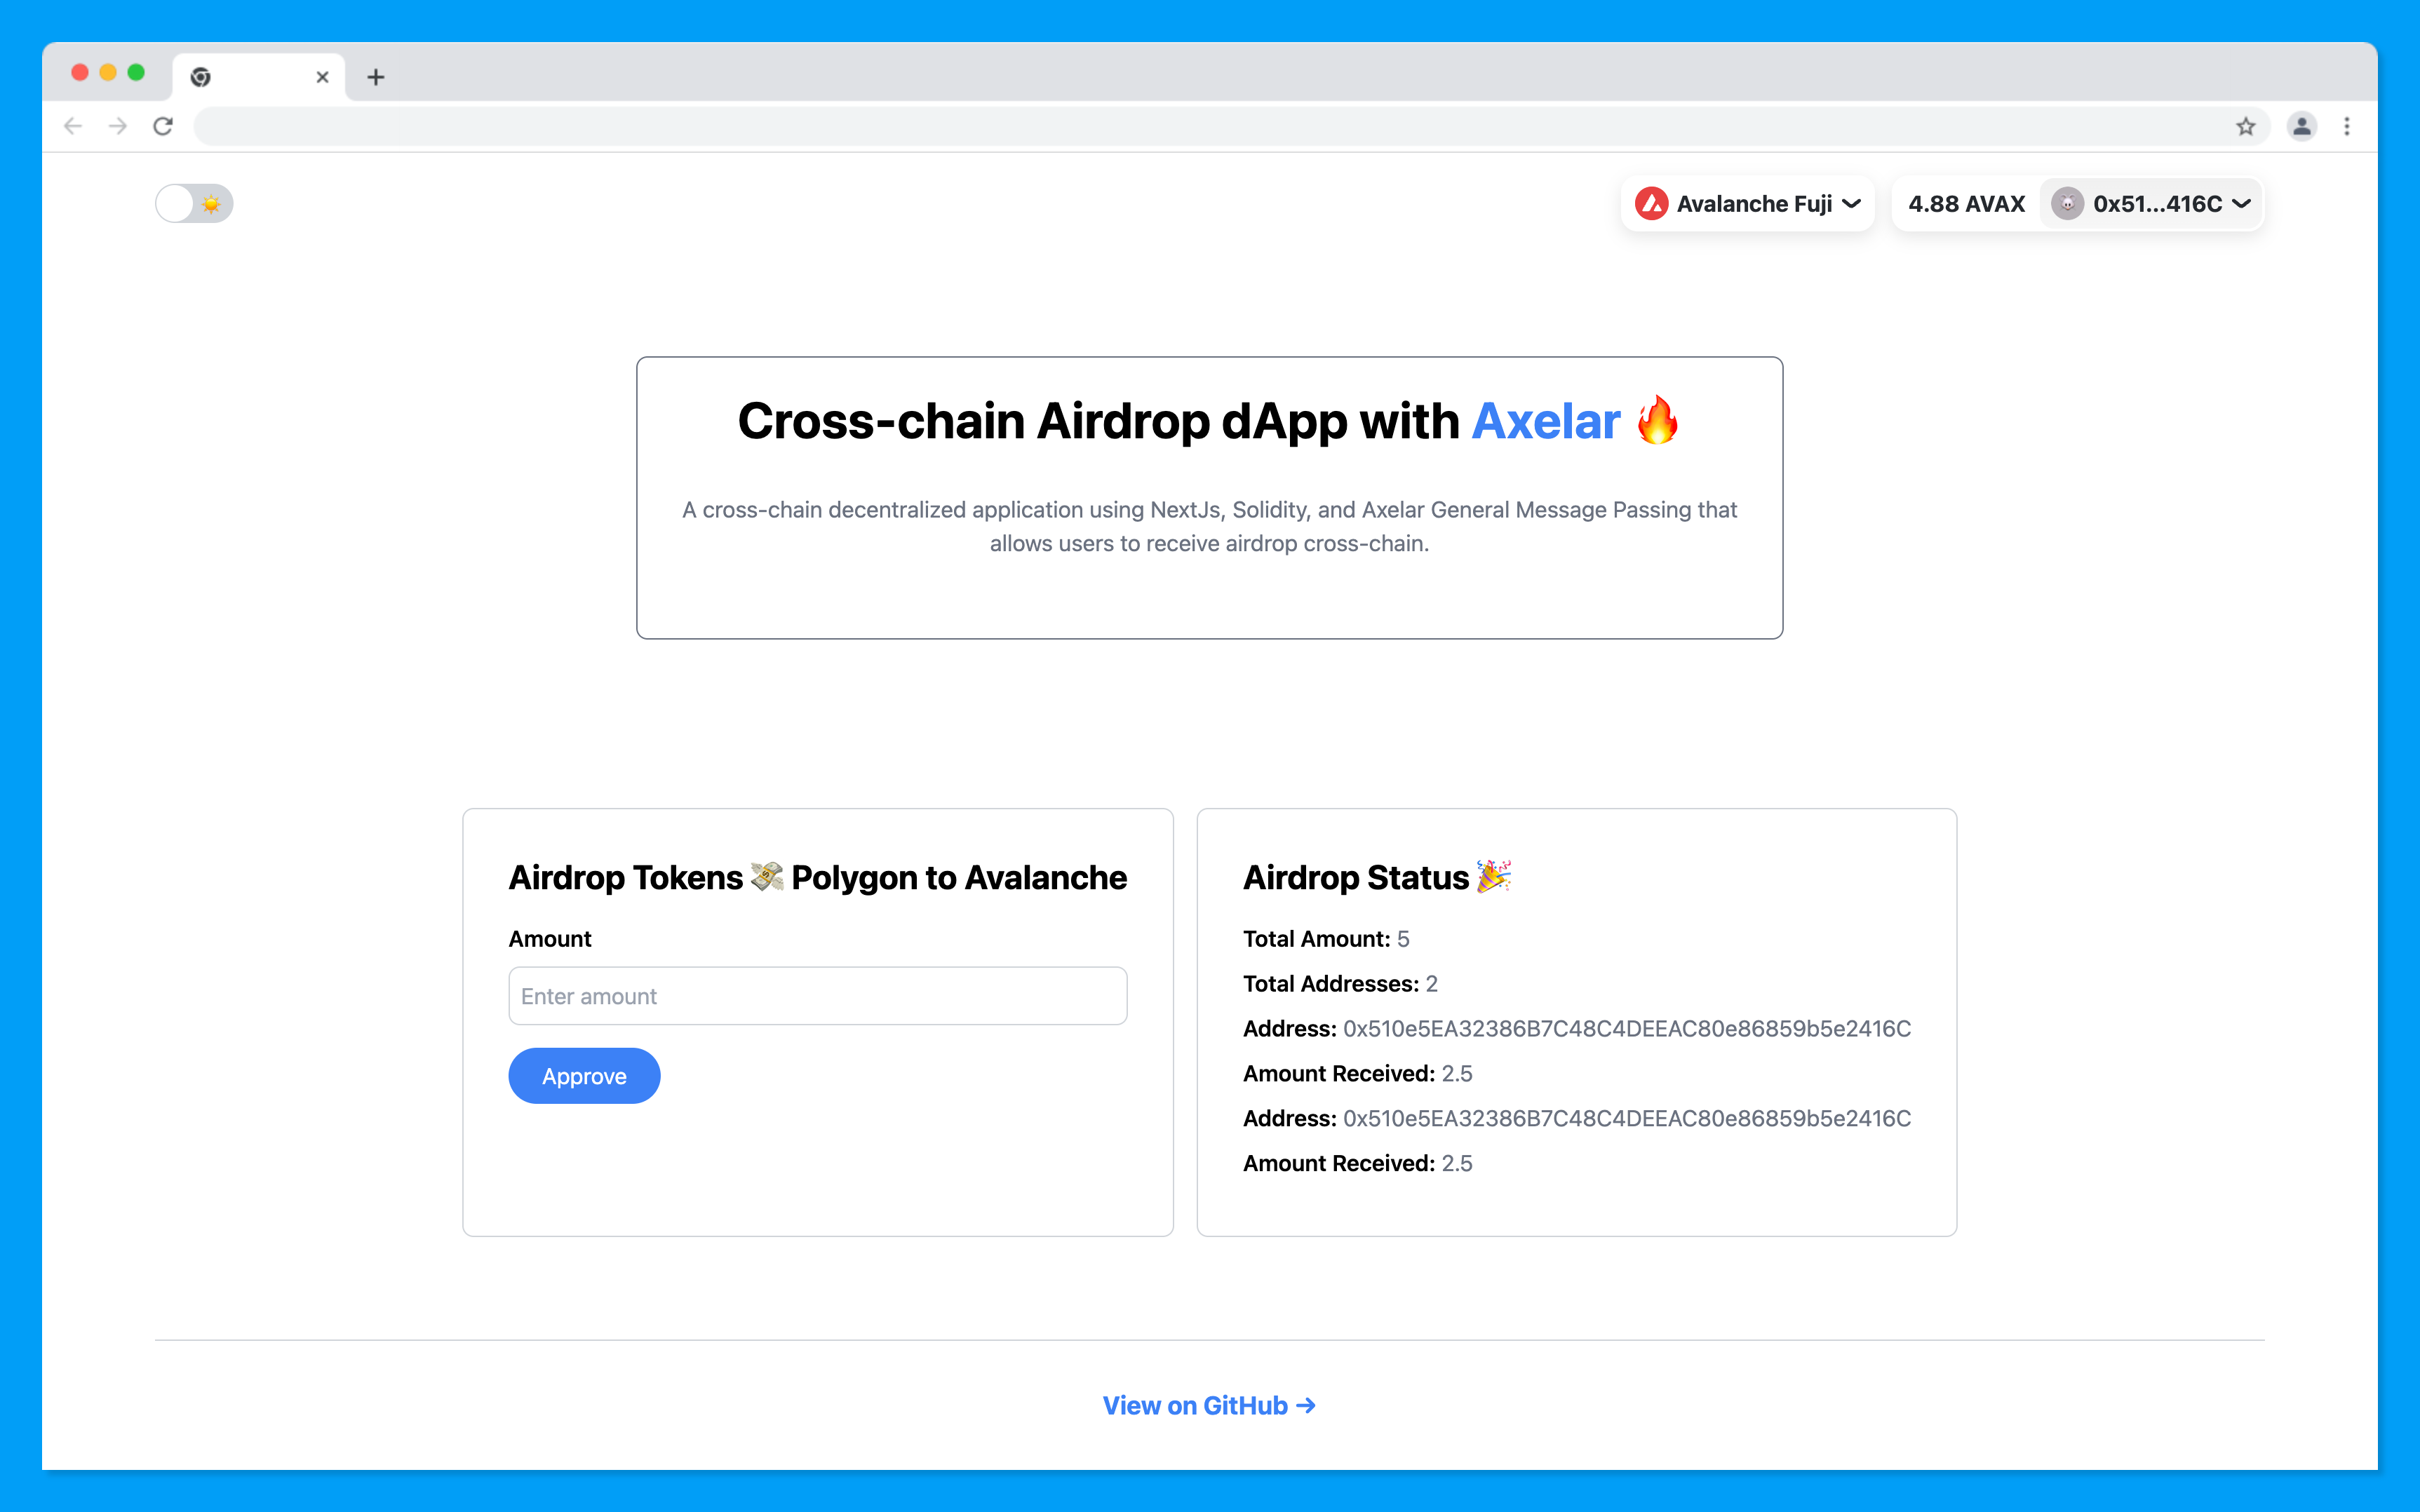
Trying the application
Hurray 🥳 , you have successfully built a cross-chain airdrop dApp with Solidity, Next.js & Axelar General Message Passing.
You can find the complete code for this project on GitHub.
What Next?
This post covered the utilization of Axelar GMP with callContractWithToken, but that's not all General Message Passing can do.
You can always explore other functionalities like callContractWithToken, SendToken, Deposit addresses, NFT Linker, JavaScript SDK, etc.
If you've made it this far, you're fantastic! You can post about your experience building or following along with this tutorial to show your support to the author and tag @axelarcore.
Conclusion
In conclusion, this tutorial demonstrated how to create a cross-chain airdrop dApp using Solidity, Next.js and Axelar GMP. You learned how to deploy a smart contract, interact with multiple blockchains, and build a frontend application to facilitate token distribution.
As a result, you now better understand how to leverage Axelar's powerful features to develop cross-chain dApps.